This is preventive maintenance for any winch with a planetary drive system. The winch shown here represents the Chicago Electric, Harbor Freight, Mile Marker, and a few others. This one in particular is an 8,00lb winch.
What you will need:
A small tub of good-quality grease.
A #2 phillips screwdriver.
Lots of rags/paper towels.
Cleaning agent. (I use diesel fuel.)
A clean place to work.
If you need to remove your winch to access the drive end, you will need additional tools to accomplish that.
Clean off any dirt from the case before opening it up.

Remove the cover and set the screws aside so you won't lose them.

Remove the primary drive cluster by sliding it off of the hex shaft. Watch for the bushing that fits into the far side of this gear cluster. Also watch for a sun gear that engages both this cluster and the next.

Remove the secondary gear cluster by sliding it out the end. Watch for an intermediate (sun) gear that engages this section and the final drive.

Take a moment to play with the family dog. This is my assistant, Lulu.

Remove the final drive cluster by sliding it out the end. you may have to use a pick or something to get ahold of it to pull it out.

Now comes the fun part; cleaning everything.
I did not completely disassemble the gear clusters, because all I wanted to do is remove most of the factory grease and any metallic break-in material that might be in the grease.
My solvent tank is filled with diesel fuel, so any solvent left over after drying the parts will be harmless.

Here are the parts after being cleaned, dried and laid out in order. In some of these, you can see a clear, plastic washer. Be careful not to lose these. They keep the planetary gears away from the sun gears. I found one in the solvent tank, so that shows that they CAN fall out.


Grease the housing and hex shaft.

Pack each gear cluster before installing it.
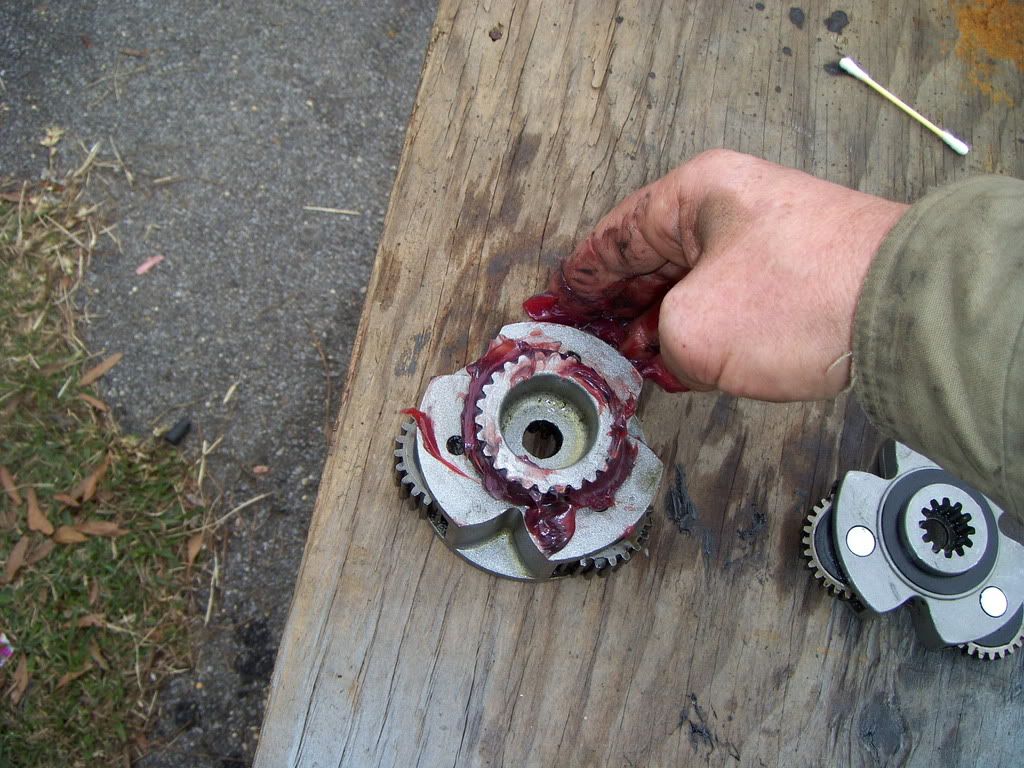
Work the drive clusters back into place. Be patient. It will probably take some fiddling to get the gears to line up. As you install each section, pack more grease around it.

Here is the completed assembly. All that is left to do is wipe the edge of the case, install the cover, and screw it down. Use an alternating pattern like when tightening wheel lugs.
