If you have a headlight out on one side only, chances are it is just the fuse. Possibly the bulb.
If you have a low beam out on one side, or high beam out on one side, and it is not the bulb, odds are the headlight switch is faulty.
These are easily replaced and cost about $55 new. However, they are repairable if you are a do-it-yourselfer.
The following was performed on a 1986 Nissan Hardbody Pickup, but many Nissan cars and trucks have a similar headlight switch.
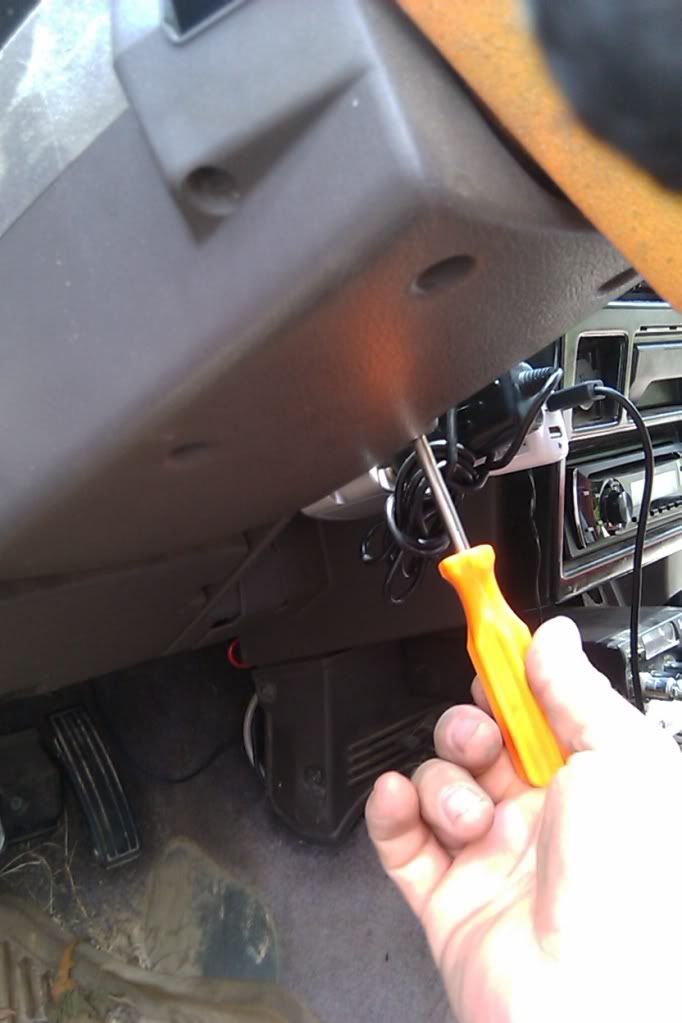
The first step is to remove the steering column cover to expose the switch. Mine had six screws accessable from the bottom.
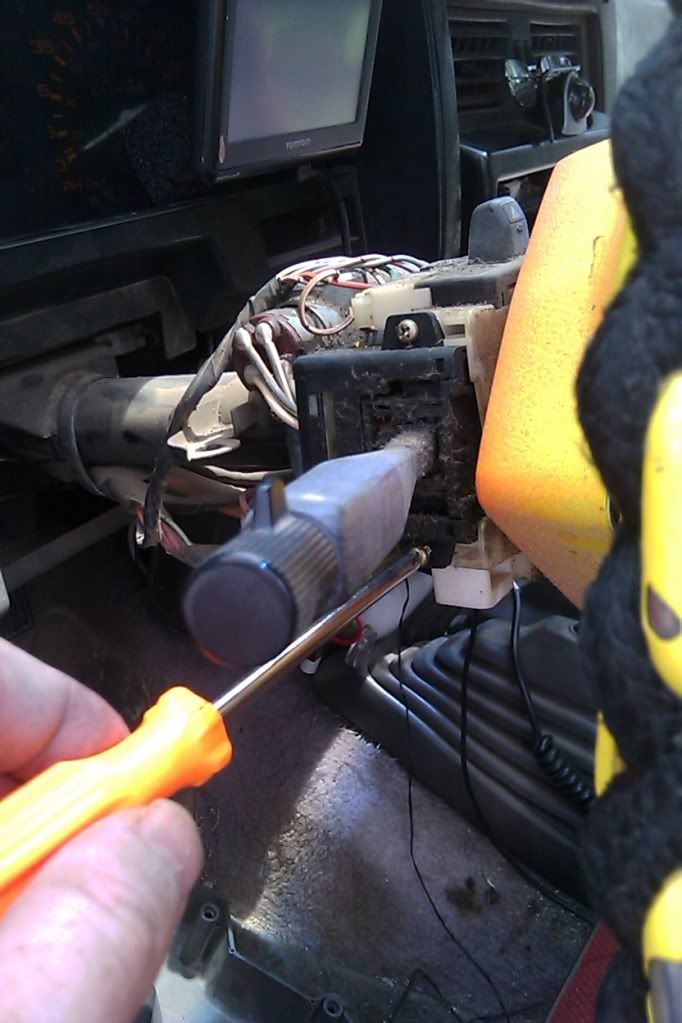
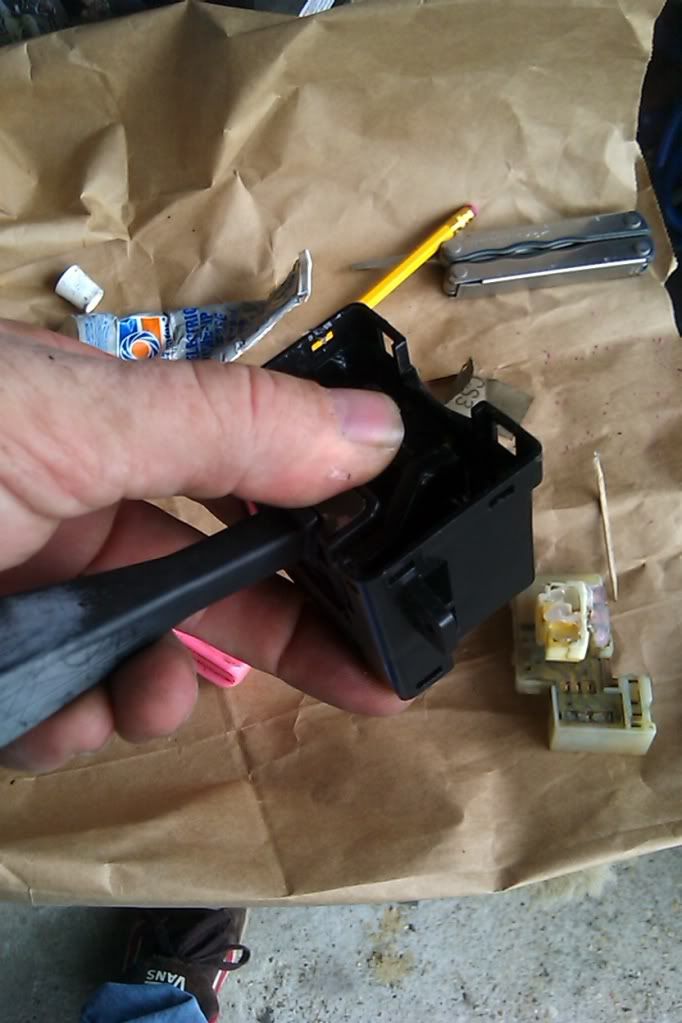
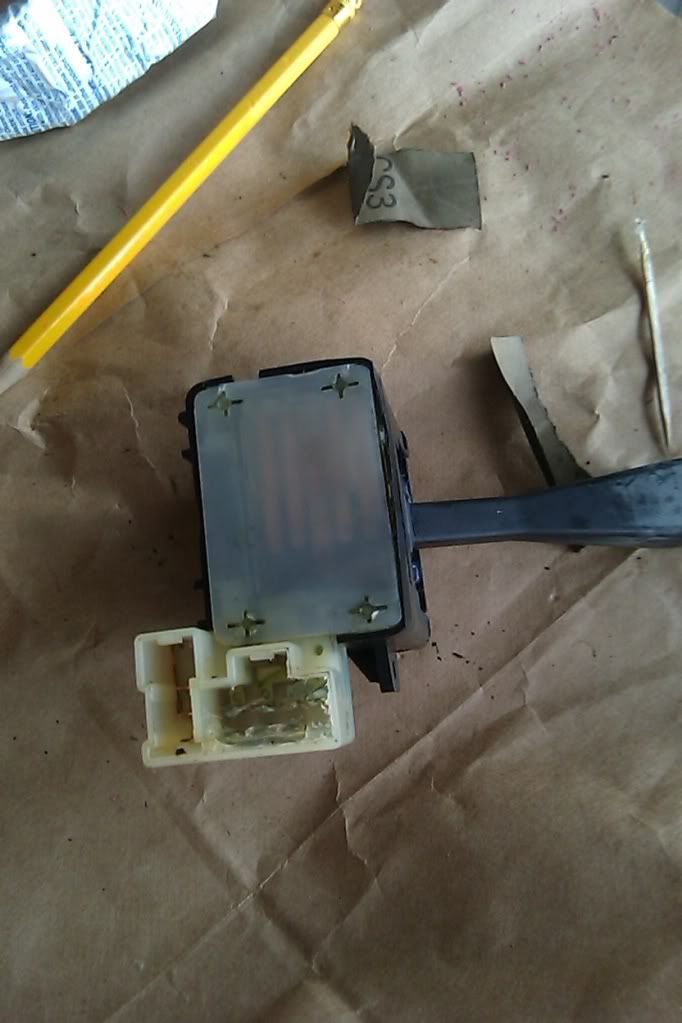
Remove the two screws securing the switch, and slide the unit out.
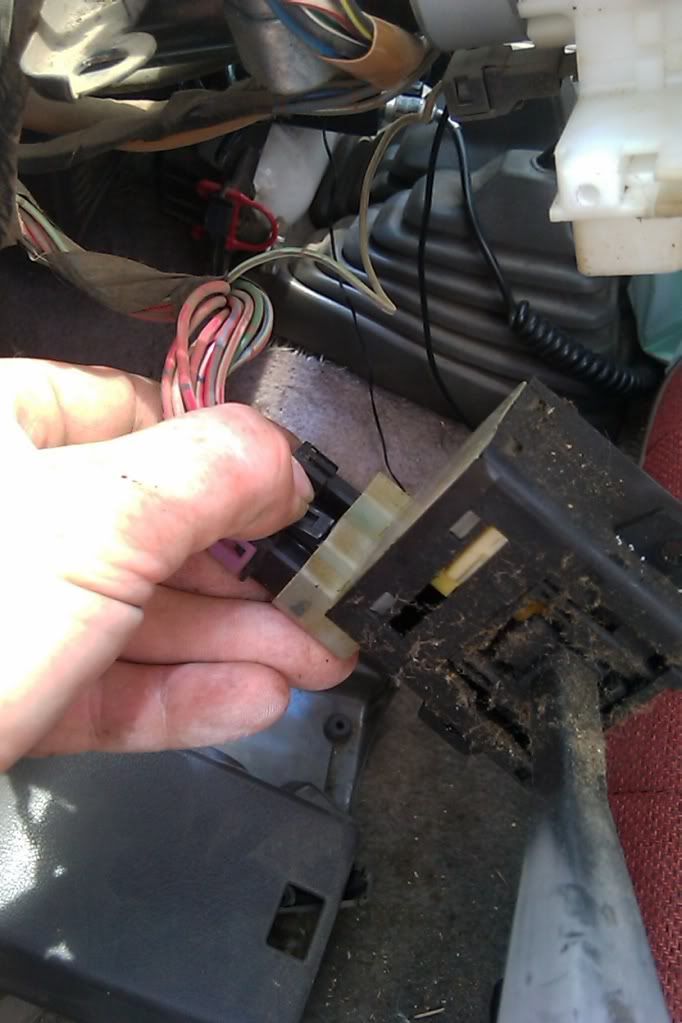
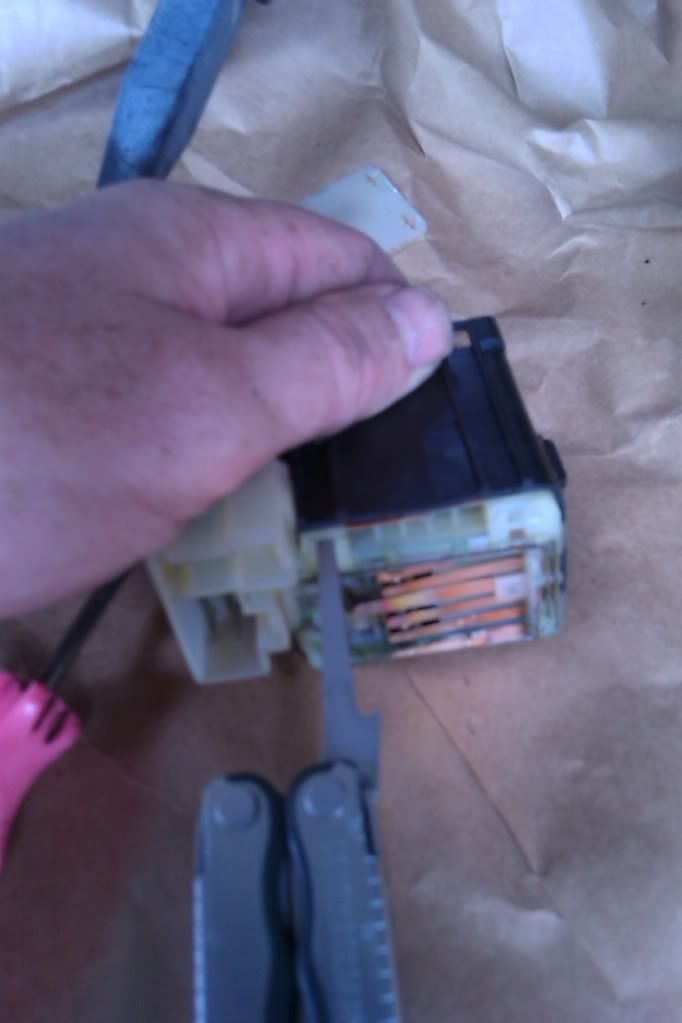
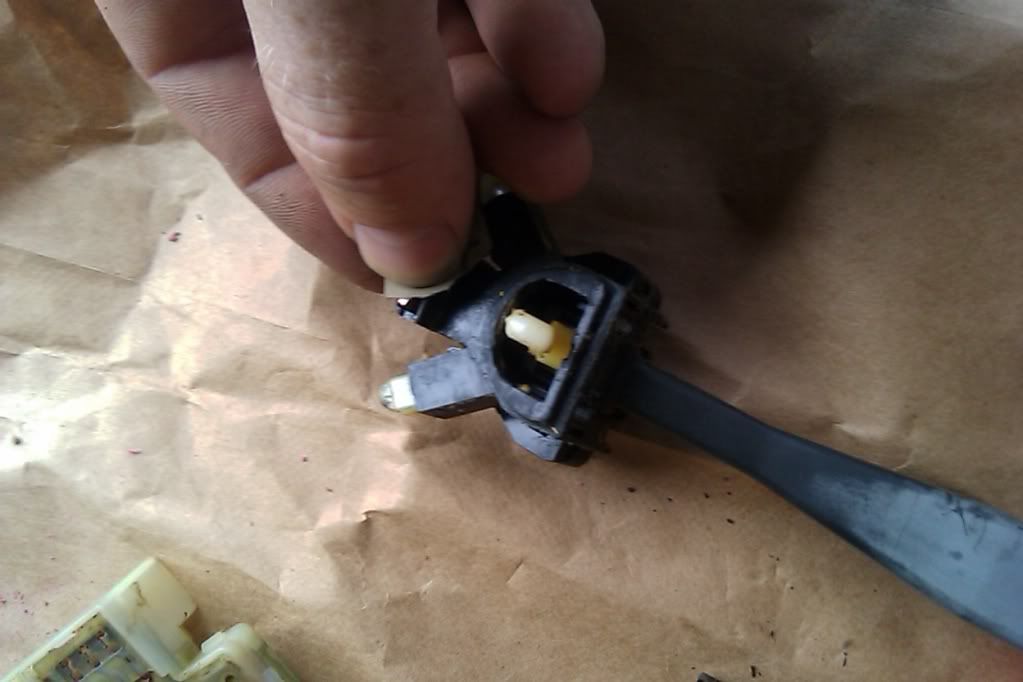
Disconnect the electrical plug by squeezing the tab with your thumb as you pull the plug out.
[u]Note:[/u]
In all fairness, you do not have to fully disassemble the entire switch just to clean the contacts for the headlights, but not knowing what I was doing, I took it all apart. The advantage to doing that is that you get to clean the turn signal contacts as well as lube the whole thing, which mine sorely needed.
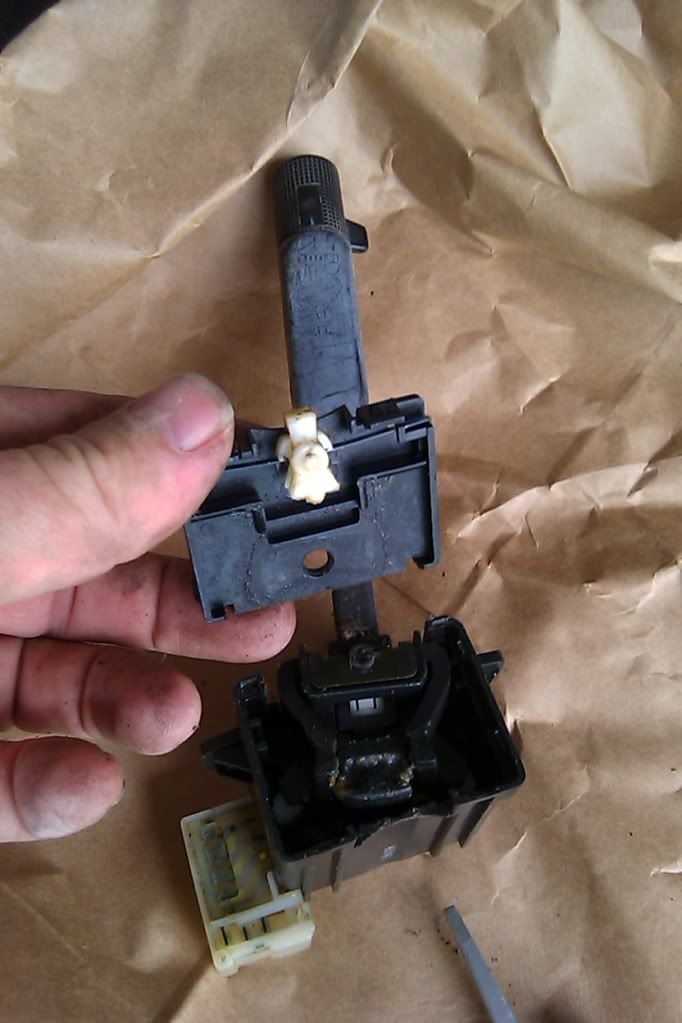
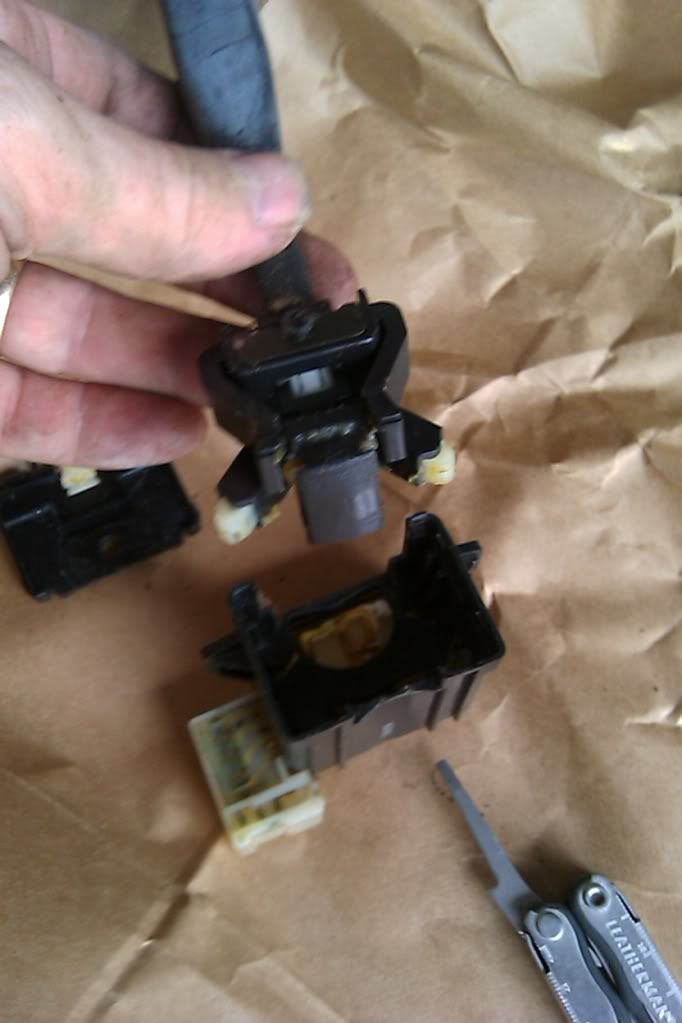
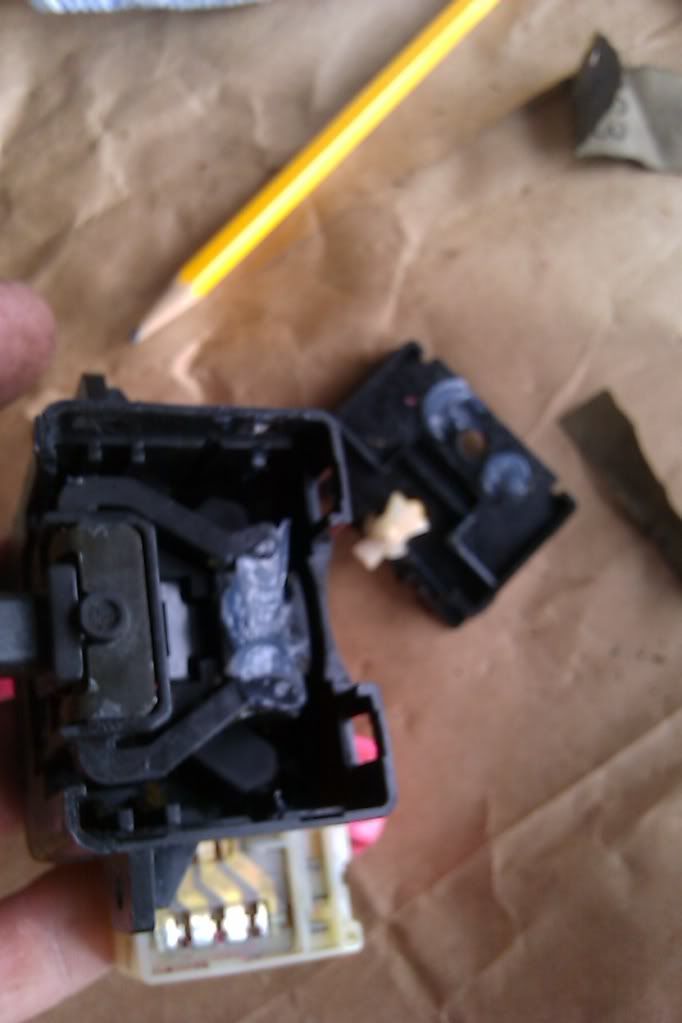
I did not find an easy way to do this next part, but you need to remove the black end. Work a small screwdriver behind each lock tab to release it. I found that shoving a screwdriver behind one and leaving it there, helped me pop the next one loose with another screwdriver. Then so on down the line.
Remove the black end and lay it aside. There is no need to disturb the little flippy thing with the flat springs. Best to leave that alone.
Remove the arm assembly and lay it aside.
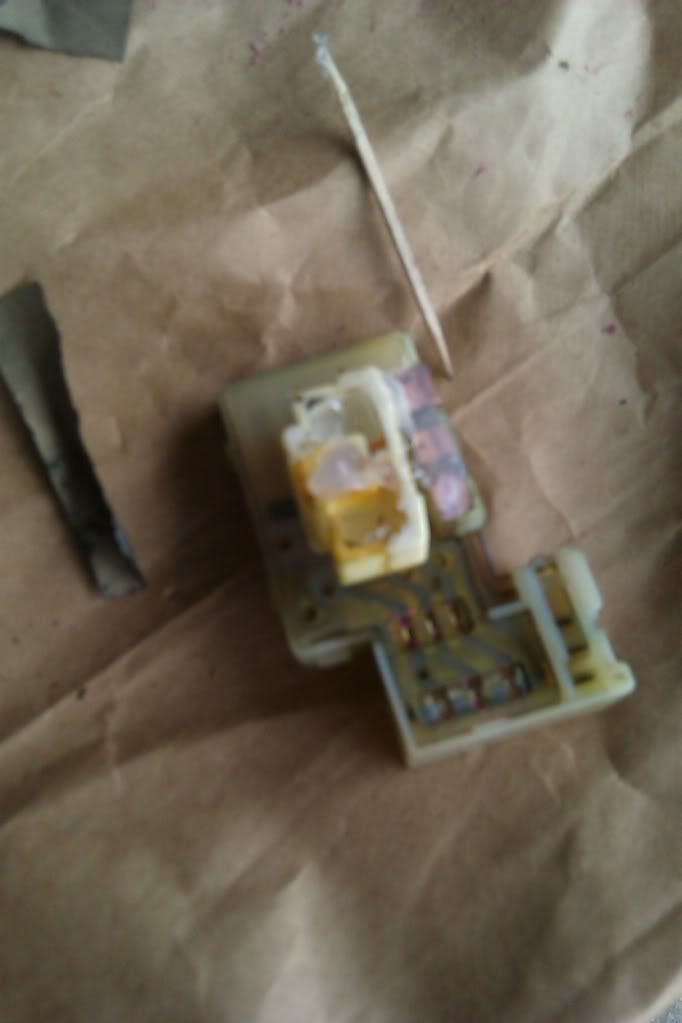
Pop off the thin cover as shown here.

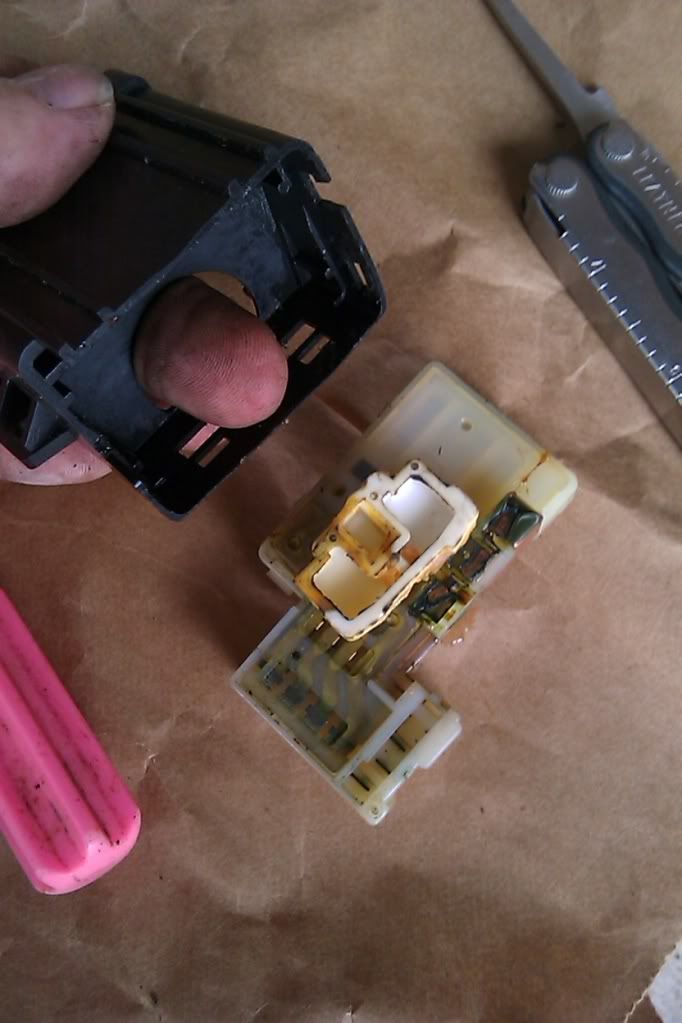
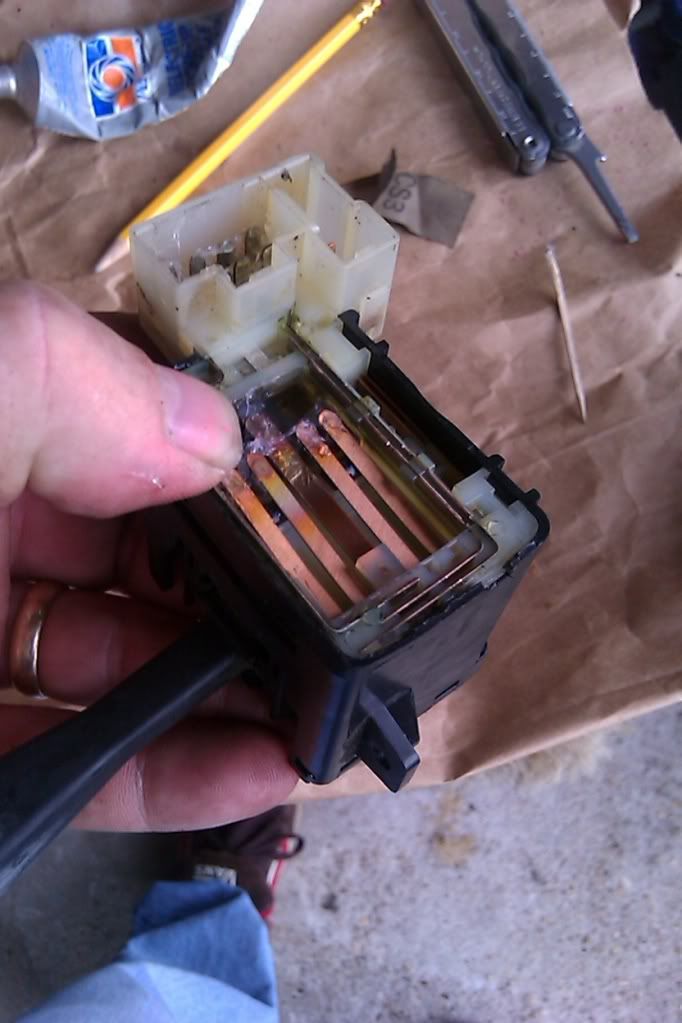
Work the white end out, as you did the black end. Be patient and careful.
The small white piece is what slides around and pushes plungers that operate the headlight contacts.
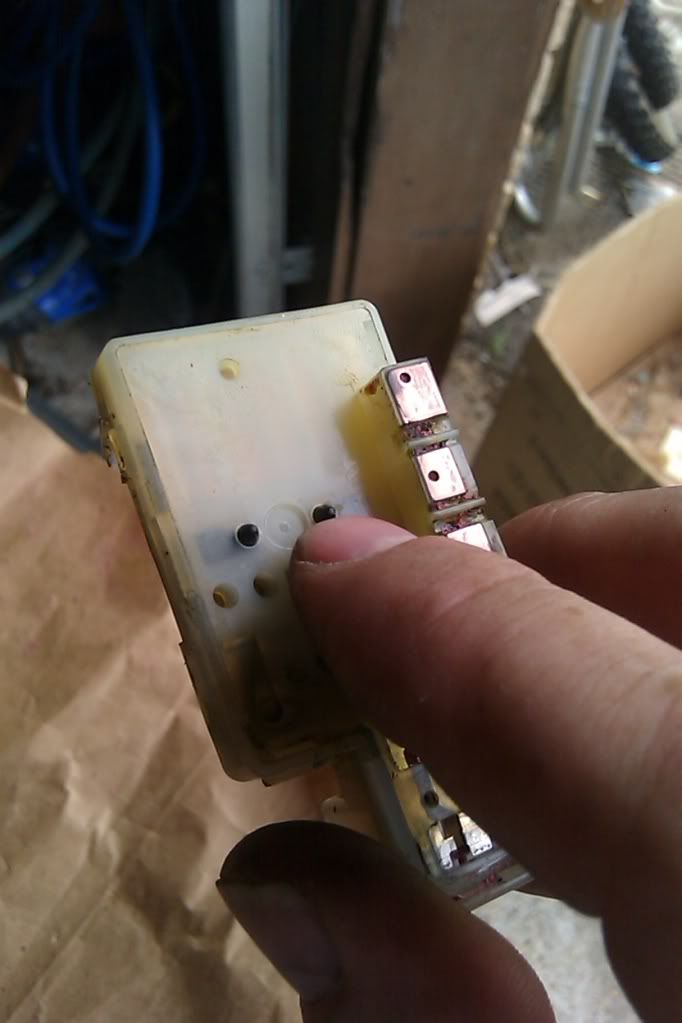
Wipe the grease off of the contacts.

Clean the contacts for the turn signals. I used 600 grit sandpaper.
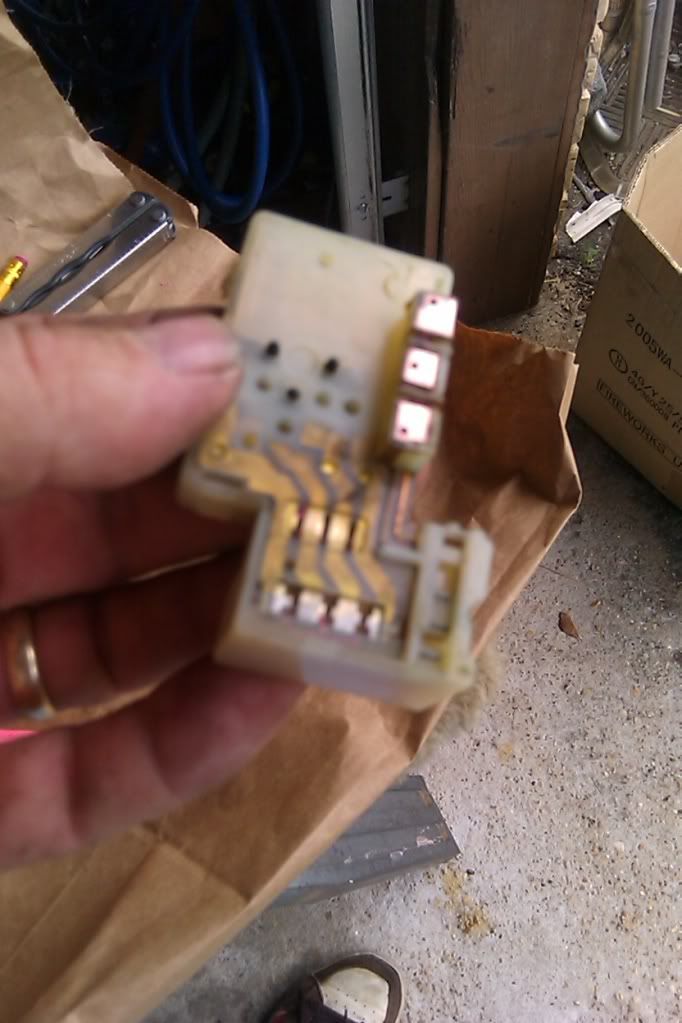
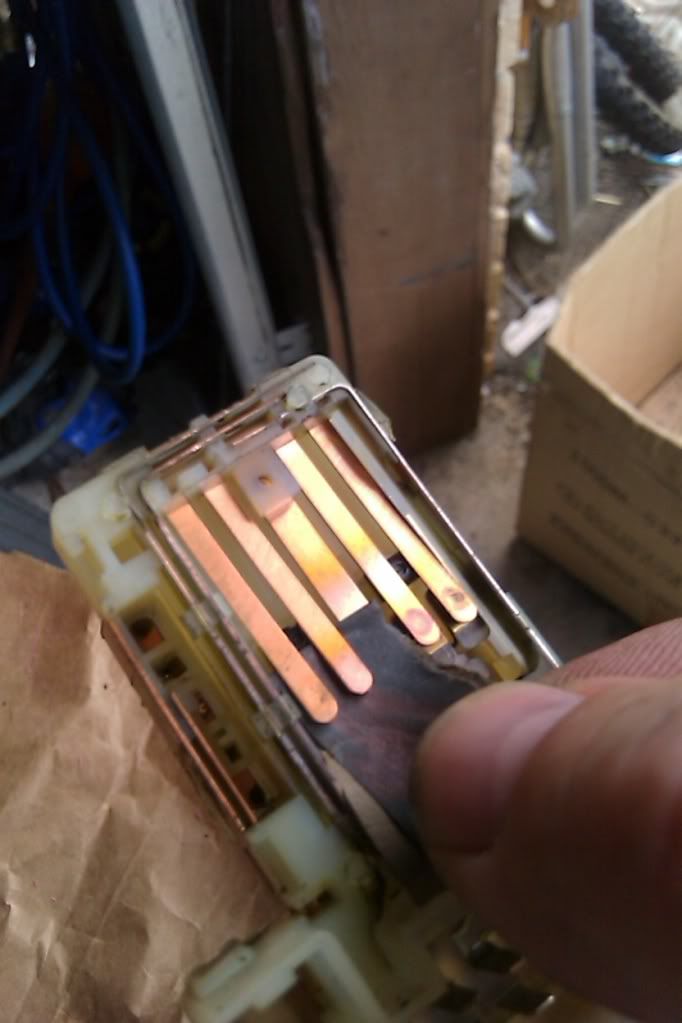
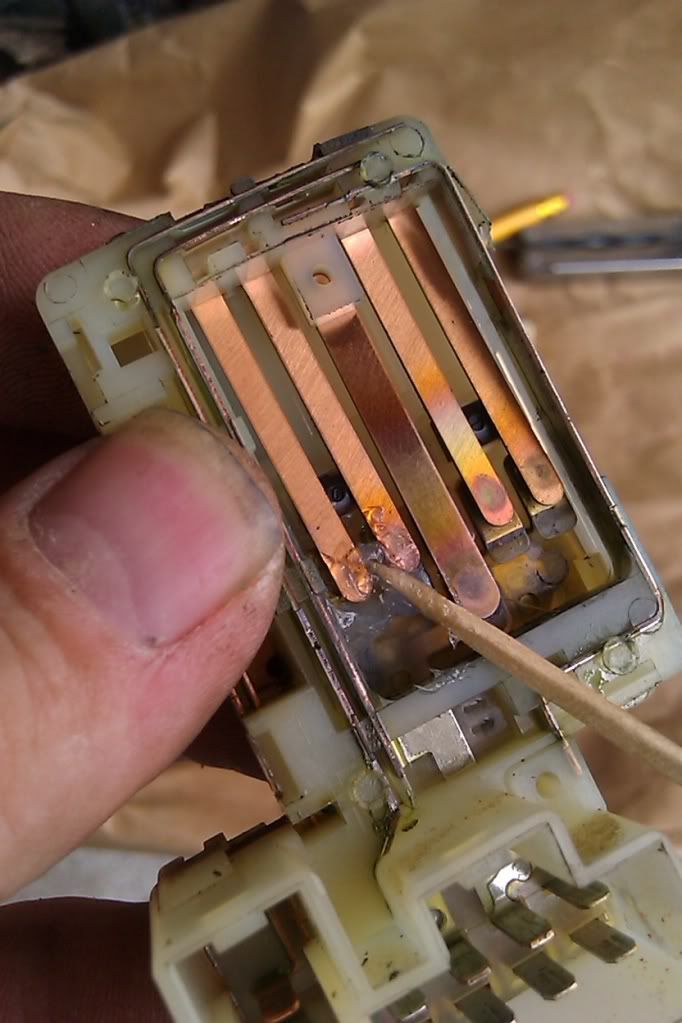
Clean the headlight contacts by doublling over a strip of sandpaper and sliding it between the contacts.
Pushing the little plungers will open the contacts so that you can get the paper in between. Applying a bit of pressure as you pull the paper out is helpfull. Use light pressure, as these contacts are easily bent.
Push the plunger to open the contacts:
Slide the sandpaper in:
Applying light pressure:
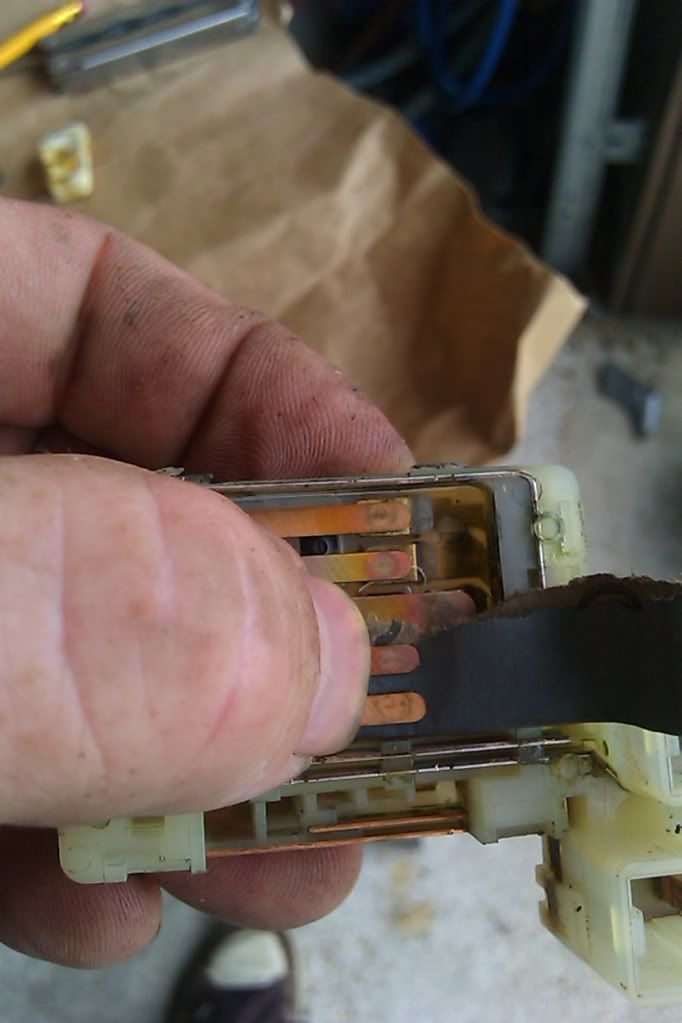
With the contacts clean, lube them with silicone dielectric grease.
Lube both sides of the little white piece.
Lube the business end of the arm assembly.

Insert the arm assembly into the housing and press it down into position.
Holding the arm assembly in place, install the little white thing on the other side, engaging the slot with the end of the arm.

Align the switch assembly and snap it into the housing.
Lube the detent parts of the turn signal switch.
Align the cover and snap it back in place.
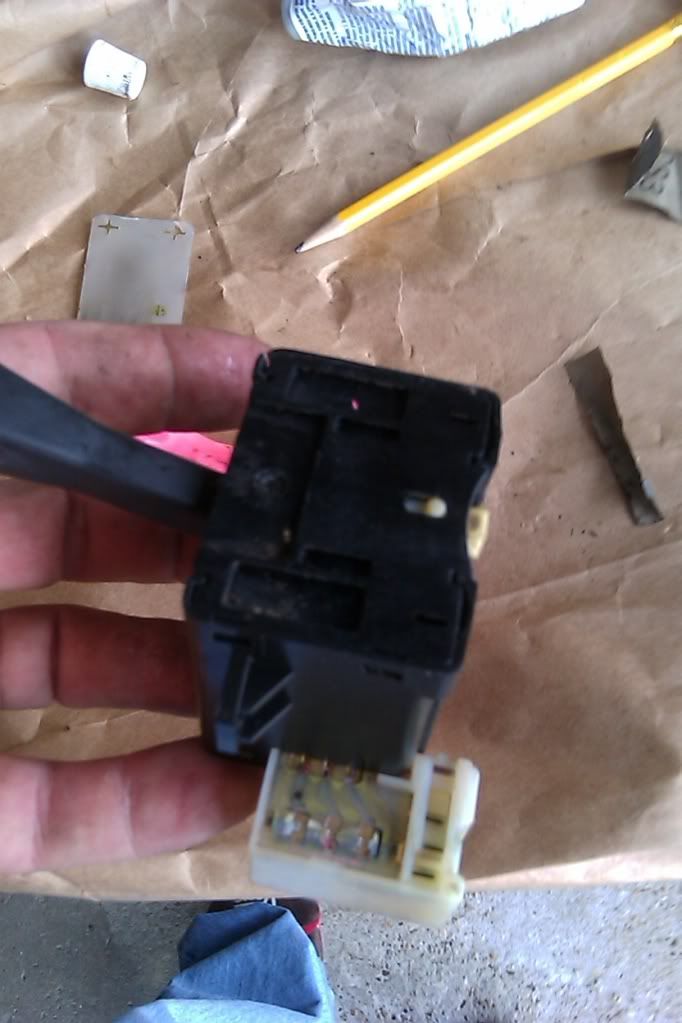
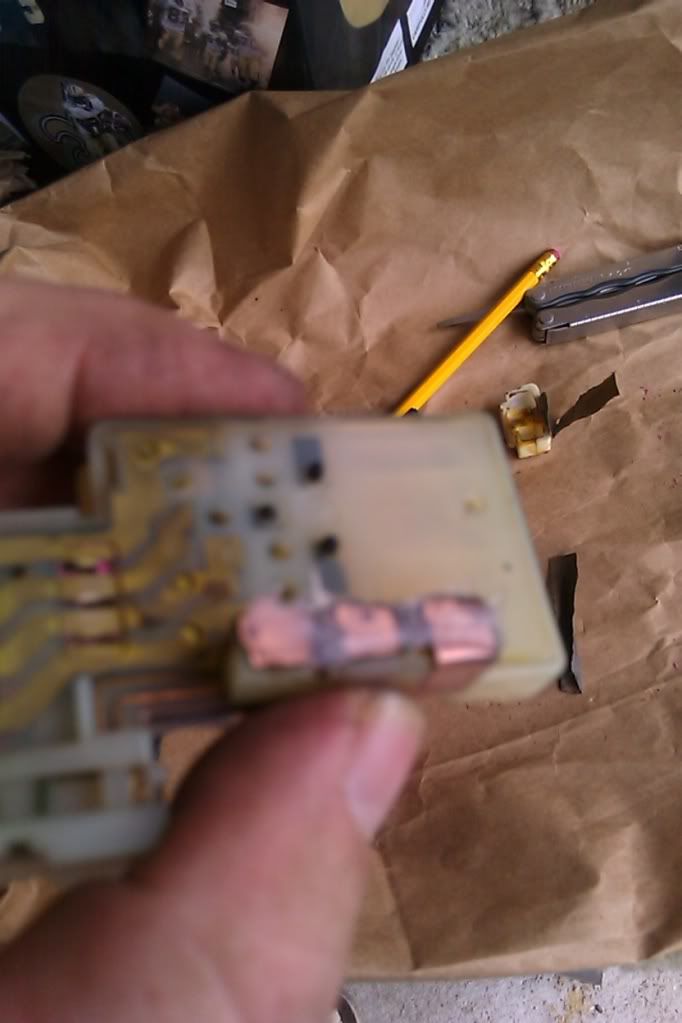
Replace the contact cover. This was tricky, but I was able to get it to snap on good enough. I think the four pins were melted at the factory, so it is hard to get the cover back under the flattened out parts.
Test for proper movement, then reinstall and test.